Why use the command line?
In order to get started with neuroimaging analysis, it is really helpful to first understand how to interact with a computer on the command line called the shell. At first look, it’s pretty bare bones and minimalist. How can this simple way of interacting with a computer be so useful?

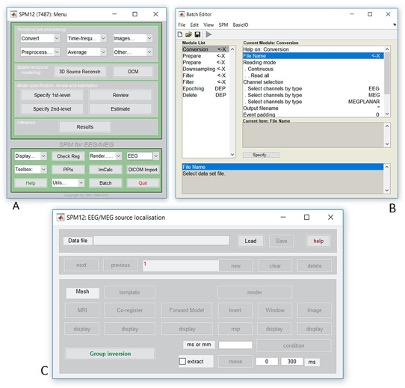
Nowadays, we usually interact with a computer using a Graphical User Interface or a GUI. These include programs like Word, Chrome, iTunes which allow you to interact using your mouse to press buttons, select options, move sliders, change values, etc. It provides a simple, intuitive way for us to access the essential functionality that we need from these programs. Some neuroimaging analysis software does comes with a GUI, like this one from the Statistical Parametric Mapping (SPM) toolbox, a popular MATLAB based package.
Benefits of the command line
While GUIs are often the best way to interact with your computer, using the command line for neuroimaging analysis is tremendously powerful for many reasons:
- Automation GUIs typically will wait until you tell them what to do. When you go home at night, it won’t do anything because it has no instructions! You can setup the command line to automate some tasks so that it works late in the night while you are sleeping.
- Scalability Working with a GUI often means a lot of mouse moves and clicks. For a small handful of imaging sessions, this is a fine way to work, but what if your research project has hundreds of datasets to process. It’s far more likely that an error could occur or a dataset is missed. While you go through this lesson, count the number of mouse clicks it takes you to do a task and think about how that would scale to your project. When you run on the command line it has all of the information it needs, so no interaction is needed, saving a lot of your time.
- Control With GUIs, you often only have access to the options that are presented…but that might not be all of them, and they might restrict you from what you want to do. With the command line, you may need to do some investigation, but you have total control over how the task is run.
- Interoperability You may find that you want to take results from one program and feed them into another and then another. With GUI’s this often means saving or exporting the results, then opening up the other program and importing them. The command line often allows you to pieces these steps together in one set of instructions.
Getting started
In this section, we are going to go through some basic steps of working with the command line. Make sure you are able to connect to your working environment by following the directions in the Connecting section of this website. As a reminder, you should have a desktop on your virtual machine that looks something like this: 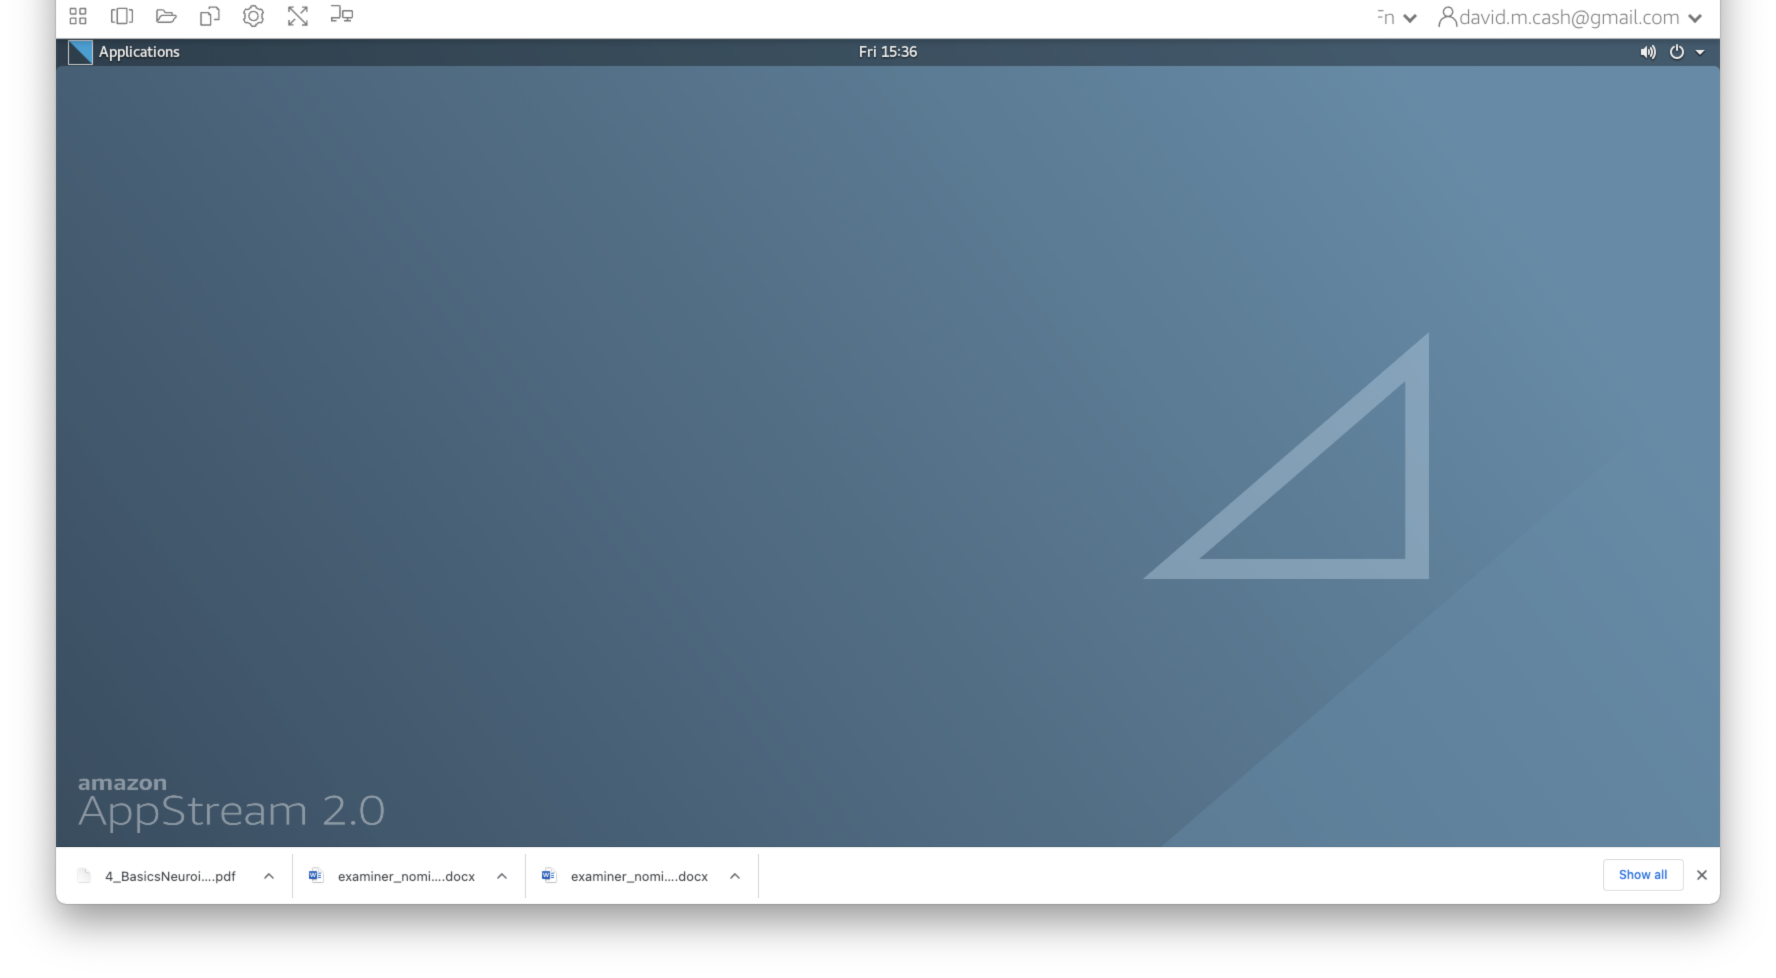 At the bottom of the the screen, you will see a taskbar. One of the icons is a black box with a white dollar sign in it. That will launch the shell (Terminal Emulator) to give you access to the command line. Click on that to launch the terminal.
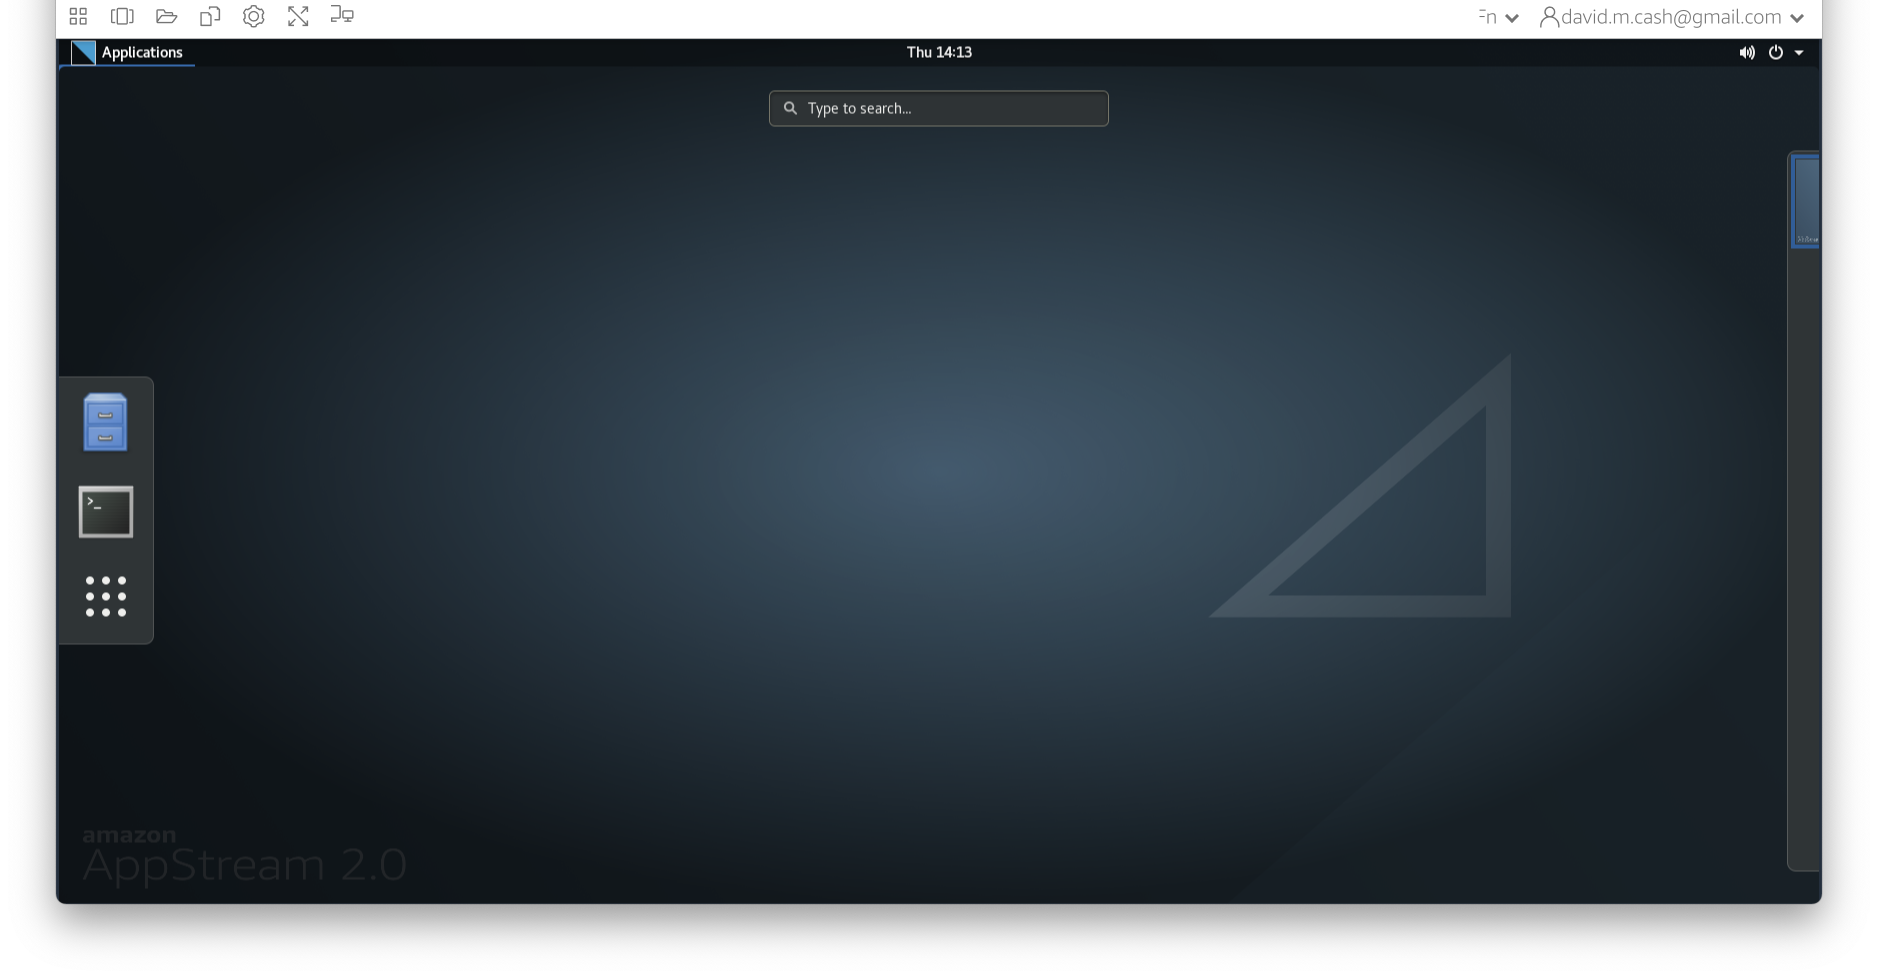
Navigating the file structure
The desktop of your virtual machine will have a black window with green text in it. This is the shell. We will enter some commands and see what the responses are. 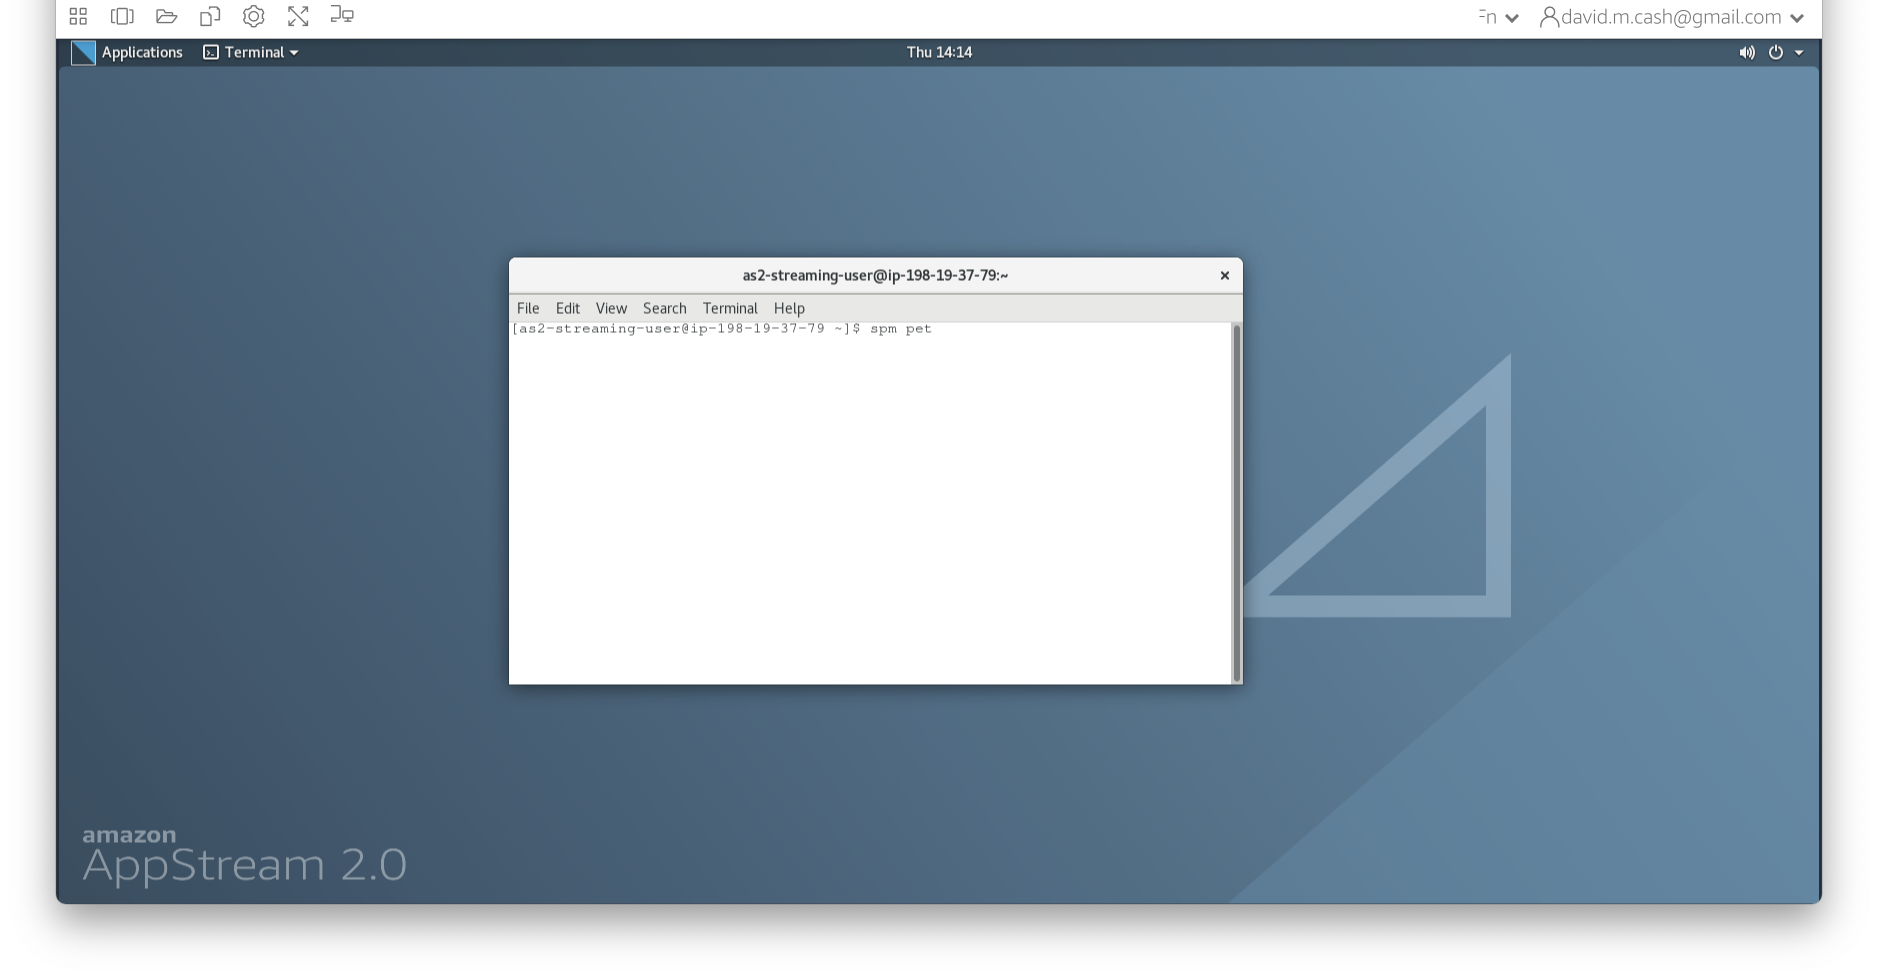
- The first thing we are going to do is figure out where we are. We do that using the command
pwdwhich stands for present working directory. Type it in the command line and see what the response is:pwdThe response you should have gotten is
/home/ubuntu. This is your home directory - Next we are going to see what items are contained in this directory. To do that, simply type
lsand it should show you all the files.lsYou will notice that some of the entries are different colors. The colors indicate whether the entries are files or directories. They also can indicate if these files or directories have special properties.
- If we want more information about these files and directories, then we can use the same command with a command line option
-lto tell the computer to list the files in a long formatls -lThis now gives a lot more information about who owns the file (3rd and 4th column), what permissions they have to read, write or run (execute) the file (first column), and when it was modified (6th column).
If you want to list the contents of a different directory, just put it after the
ls -lls -l data - The
datadirectory in your home directory is where you will be storing your work. So let us move into that directory using thecdor change directory command:cd dataNow type the command
pwdagain. Has the result changed?What happens when we list the contents of this directory?
ls -lYou don’t get anything back, as this directory currently is empty!
- Inside the data directory, let’s create a new directory that we will call
mywork. We do that using a command calledmkdir,mkdir myworkRun the
lscommand again to see how the contents have now changed to show your new directory.
Helpful hints
- Feeling lost? You can always get back to your home directory simply by typing
cdwithout any arguments or by using the tilde symbol, which is the shortcut for home.cd cd ~ - Help me! If you want to know more about a command, just type
manin front of it to get the manual entry.man ls man find man more man less - Previous commands If you want to see a list of commands that you have run, you can type in the
historycommand. You can also scroll through previous commands by tapping the up and down arrow keys and then hit Return when you found the command you want to run again. - Paths Locations in the file system, whether they are files or directories, are known as paths. Paths can be referred to in absolute terms (like a postcode or latitude and longitude) or relative terms (like directions to your work from home). In some cases it is more convenient to use absolute paths, and in others, relative paths are nicer. Absolute paths always begin with a
/character. From your home directory, the following two commands do the exact same thing.ls data ls /home/as2-streaming-user/data
Processing files
In this section, we will go over how to copy and view the contents of the files. There is some helpful information about one of the images in our Structural MRI lesson that we want to look at in more detail.
- Let’s copy it over from the directory it is currently located into our new
myworkdirectory. We do this using thecpor copy command. We first specify the source, or the file/directory that we want to copy (data/StructuralMRI/sub-OAS_30003_T1w.json), and then we specify the destination path where we want to make the copy (data/mywork). Before we do this command, let’s make sure we are back in the home directory first# Go back to the home directory cd # Copy the file. cp data/StructuralMRI/sub-OAS_30003_T1w.json data/mywork - Now let us confirm that the copy of the file is where we expect it to be:
ls data/mywork/ - Finally, let’s look at the contents of the file. We can do that with the command
catwhich concatenates and prints files.cat data/mywork/sub-OAS_30003_T1w.json - That just flew off the screen didn’t it? If we want to have a bit more control over how we view larger files, then we can use the
morecommand. Press the return key to scroll one line at a time or the space bar to scroll a whole screen page at a time.more data/mywork/sub-OAS_30003_T1w.json - We no longer need that file anymore (remember it is just a copy), so we can remove files by using the
rmcommand, but BE CAREFUL and check the command twice before executing the command, as this cannot be undone! Watch out for any spaces or any special characters like the*and?as they mean something special in the shell.rm data/mywork/sub-OAS_30003_T1w.json
Next Steps
You have completed the command line function. Now let’s use what we learned to start looking at images!
Further reading
If you want to find out more how to use the command line, please check out the following helpful documents.
Stretch your knowledge
As you get more comfortable, you can start to do powerful things with the command line.
Variables
Sometimes we want to store some information for future use. We can do that with a variable. A variable has a name and a value. A variable in the shell can hold a number, a single character, a word, sentence or a list of things. You assign a value to a variable with a simple statement var=value where you replace var with the name that you want to call the variable and replace value with the value you want to store. Once the variable has been assigned, you can access the value within the variable by putting a $ in front of the variable name
image="T1"
echo "My favorite images are $image scans."
See how it replaces $image with T1. Let’s do it again and assign a new value to image.
image="DTI"
echo "My favorite images are $image scans."
Looping
Variables are really helpful when we want to set up a loop. Let’s say we have images from 100 different subjects who are in our study, and we want to make sure that we process each of the images in the exact same way. You could type the commands out 100 times, where in each set of commands, you change the name of the image files. As you could imagine, that would be really boring, and there is definitely more risk of an error being introduced. A loop is a solution to this and makes your command writing much simpler. It is simply an instruction to the shell that says run the same command a bunch of times.
for name in David Ludovica Tobey Alexa Alexis Luigi
do
    echo "Hey ${name}, I need help!"
done
Here, the loop is setup with a for command, with the format for (var) in (list) where (var) is the variable name that will change with each iteration of the loop and (list) holds the list of entries that you want to loop over. The for loop will determine how many entries that there are in the list and run that number of iterations. At each iteration, it will place the next value of the list in to the variable (in our example name) and execute the commands that are inside the keywords do (start the loop) and done (end the loop).
Redirection
Quite often, when you execute a command on the shell, it prints out information on the screen that is useful to store for later. You can store them in the file using redirection. The > says redirects the output from the screen to another location, such as a file, overwriting the current contents. The >> does the same thing but it just appends the contents at the end. This loop just prints the number and its square on the screen.
for i in 1 2 3 4 5 6 7 8 9 10
do
    let j=i*i
    echo $i $j
done
This loop does the same thing but saves it to a text file called squares.txt
for i in 1 2 3 4 5 6 7 8 9 10
do
    let j=i*i
    echo $i $j >> squares.txt
done
Now if we show the contents of squares.txt, we see it has the same information.
cat squares.txt
Redirection can also be used for getting input using the < character. This finds the line where 64 is the answer.
grep 64 < squares.txt
Finally you can redirect output from one command into input of another command using the | character. In this case we are directing the output from the echo command from the screen to the input of the calculator command bc.
echo "242*242" | bc